Description
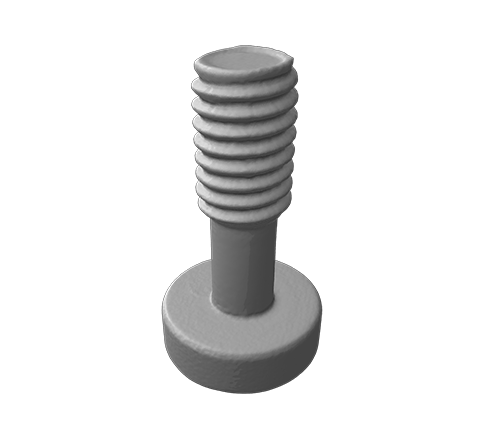
This model of a screw measuring just 1 cm was captured with the fully automated desktop 3D scanner Artec Micro, and in just 6 minutes. You may think, what could possibly be so difficult about scanning a screw? And yet, there were several challenges that came about when scanning this tiny part. Because the geometry of the object is so simple and repetitive, it was essential to remember what angle the screw was shifted to after each scan, so that each set of data could be properly distinguished from each other, and then properly aligned. Another challenge was to remove unnecessary layers from the scans of the screw thread to ensure the resulting 3D model would turn out as clean and sharp as in real life.
Designed for scanning small objects under 90 √Ч 60 √Ч 60 mm in size, Micro did an excellent job of acquiring all the little details such as the threaded shank that is a mere 2 mm in diameter, and the screw’s hexagonal drive hole. Just a few minutes and voil√† вАФ a high-precision 3D model ready for reverse engineering, prototyping, or quality inspection.
Want to get further acquainted with this model? Download it in one of the available 3D formats and upload it to your favorite 3D modeling software.
